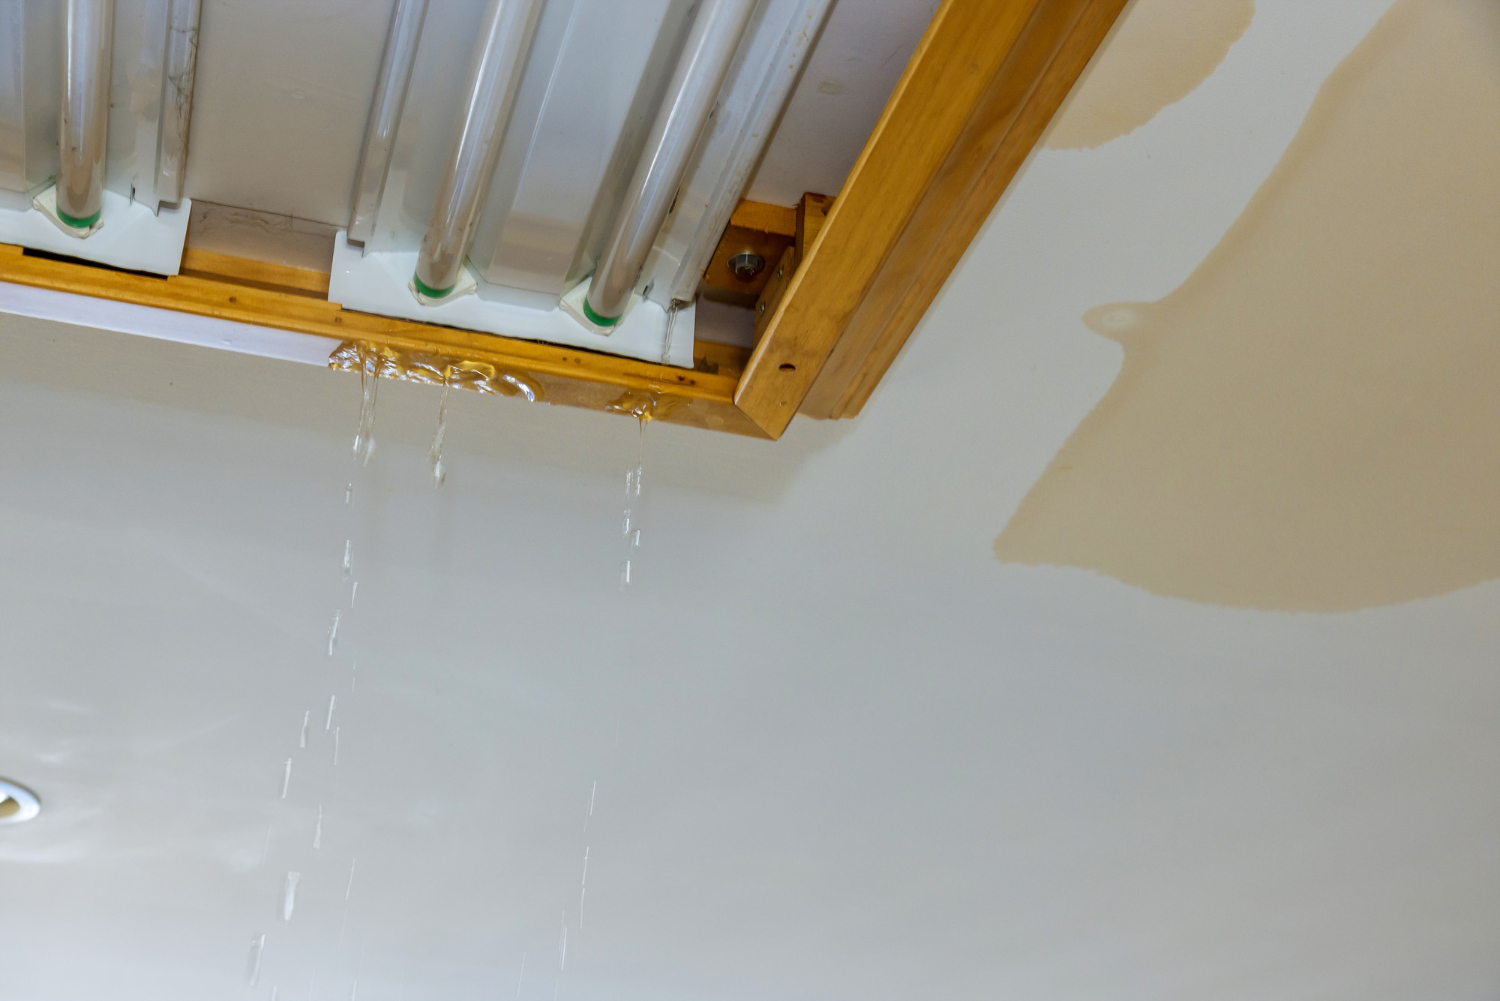
A water leak can rapidly escalate into a major problem if not handled correctly. Whether it’s a burst pipe, an overflowing sink, or a leaking roof, knowing what to do right after discovering the leak is crucial. Quick and effective actions can prevent further damage and save you from expensive repairs.
First, it’s important to turn off the water supply to stop the flow and prevent more water from pooling. Knowing the location of your main water valve can make this process quicker. Next, you need to assess the damage. Take a close look at the affected areas to understand the extent of the issue and identify the source of the leak. It’s also a good idea to take photos for insurance purposes.
Once the water flow is stopped and the extent of the damage is understood, the next step is to remove any standing water. This involves using towels, mops, and even a wet/dry vacuum if available. Finally, focus on drying and dehumidifying the area. Proper ventilation and the use of fans and dehumidifiers can help speed up the drying process, preventing mold growth and further damage. If any items or materials are thoroughly soaked, be sure to remove them to aid in the drying process.
Turn Off the Water Supply
Locate the Main Water Valve
The first thing you should do after discovering a water leak is to turn off the water supply. Start by locating the main water valve in your home. This valve is usually found where the water line enters your house, often in the basement or a utility area. Turning off this valve will stop the flow of water into your home, helping you control the situation and prevent more water from escaping. Make sure you know the exact location of this valve ahead of time so you can act quickly in case of a leak.
Turn Off Individual Supply Lines if Necessary
If the main water valve is too difficult to access or if the leak is contained to a specific area, turning off the individual supply lines might be helpful. For example, if your sink is leaking, you can usually find shutoff valves right under it. By turning these off, you can stop the water flow to that particular fixture without cutting off the water supply to your entire home. This can be especially useful for small leaks or plumbing issues localized to a single area.
Ensure Everyone Knows How to Shut Off Water
It’s also important that everyone in your household knows how to shut off the water supply. Teach family members or housemates where the main valve and individual supply lines are located and how to operate them. In an emergency, this knowledge can be crucial in minimizing water damage. Make sure everyone understands the importance of acting quickly and how to safely turn off the water to prevent further issues.
Assess the Damage
Inspect Affected Areas
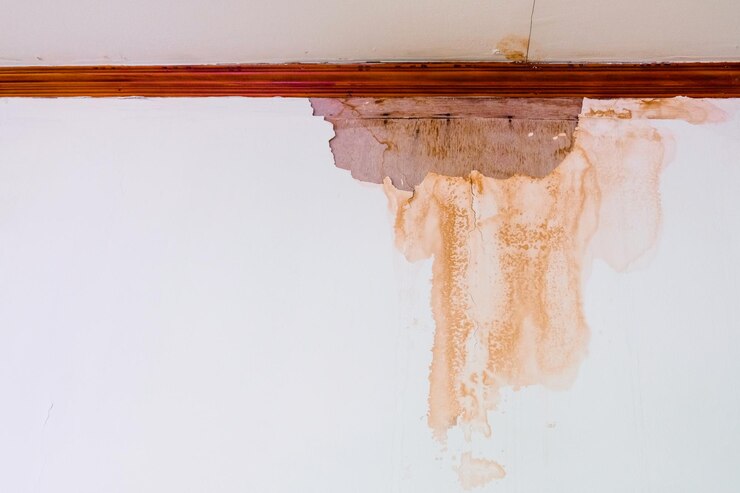
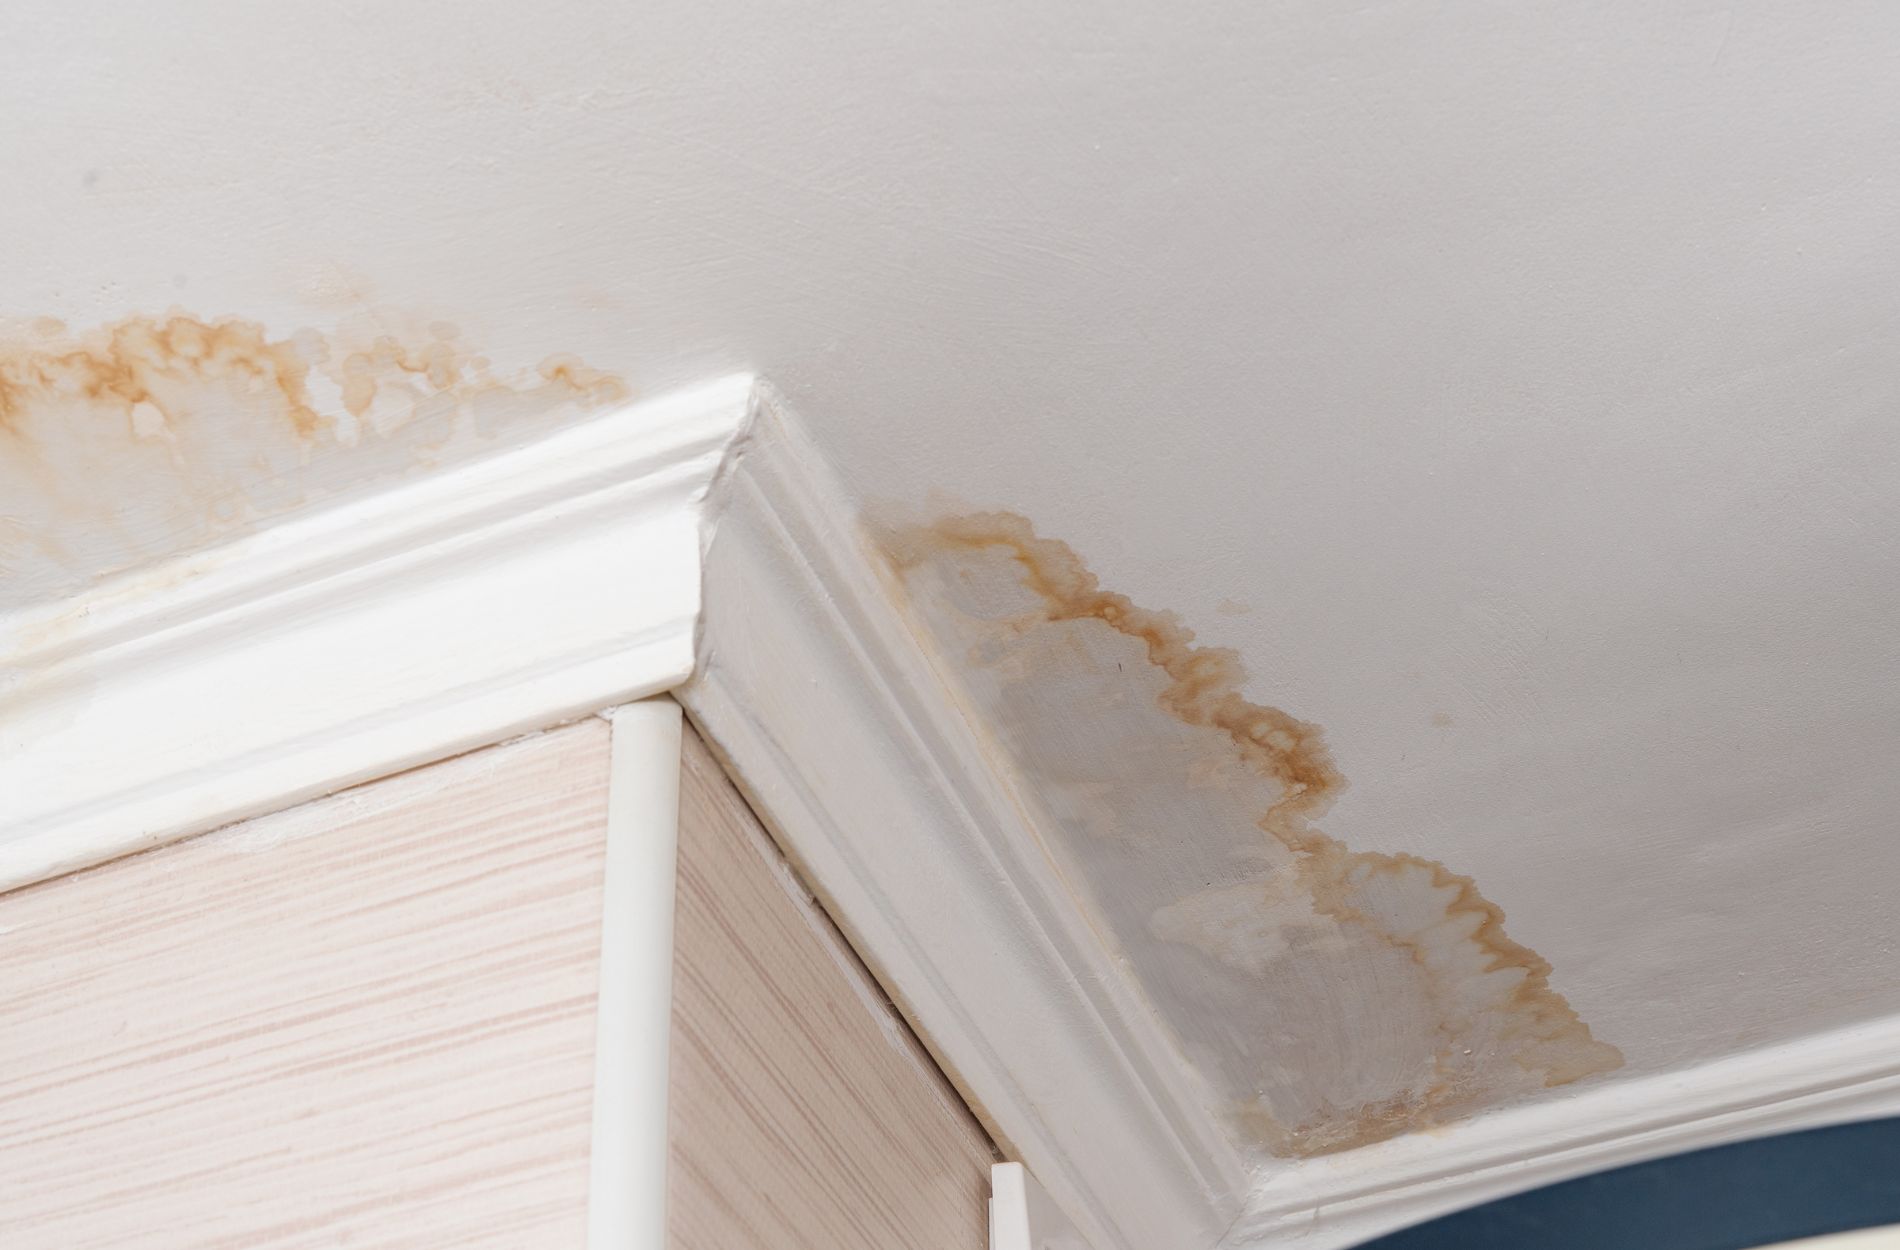
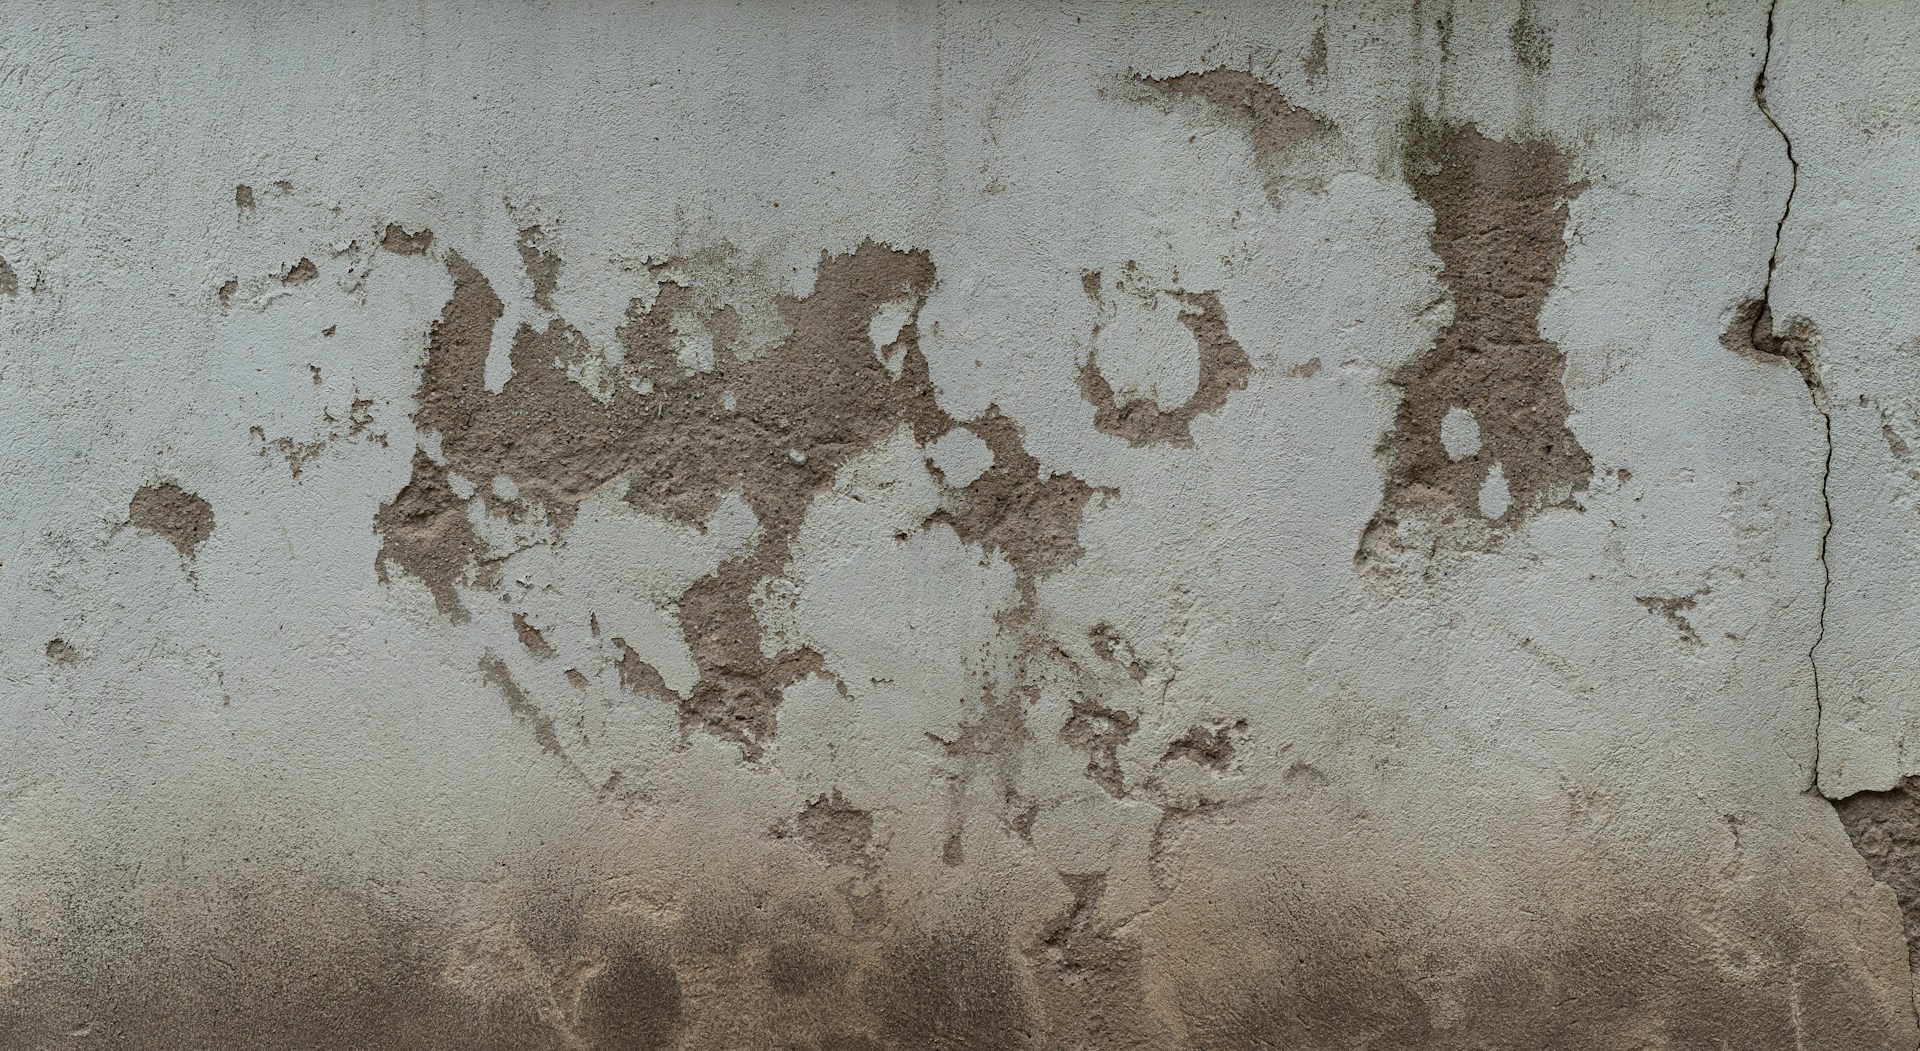
Once the water supply is shut off, the next step is to assess the damage. Carefully inspect the affected areas, looking for signs of water exposure. Check walls, floors, and ceilings for water stains or swelling. Pay close attention to corners, baseboards, and any place where water can accumulate. The more thoroughly you inspect, the better you’ll understand the extent of the damage and the necessary steps to fix it.
Identify the Source of the Leak
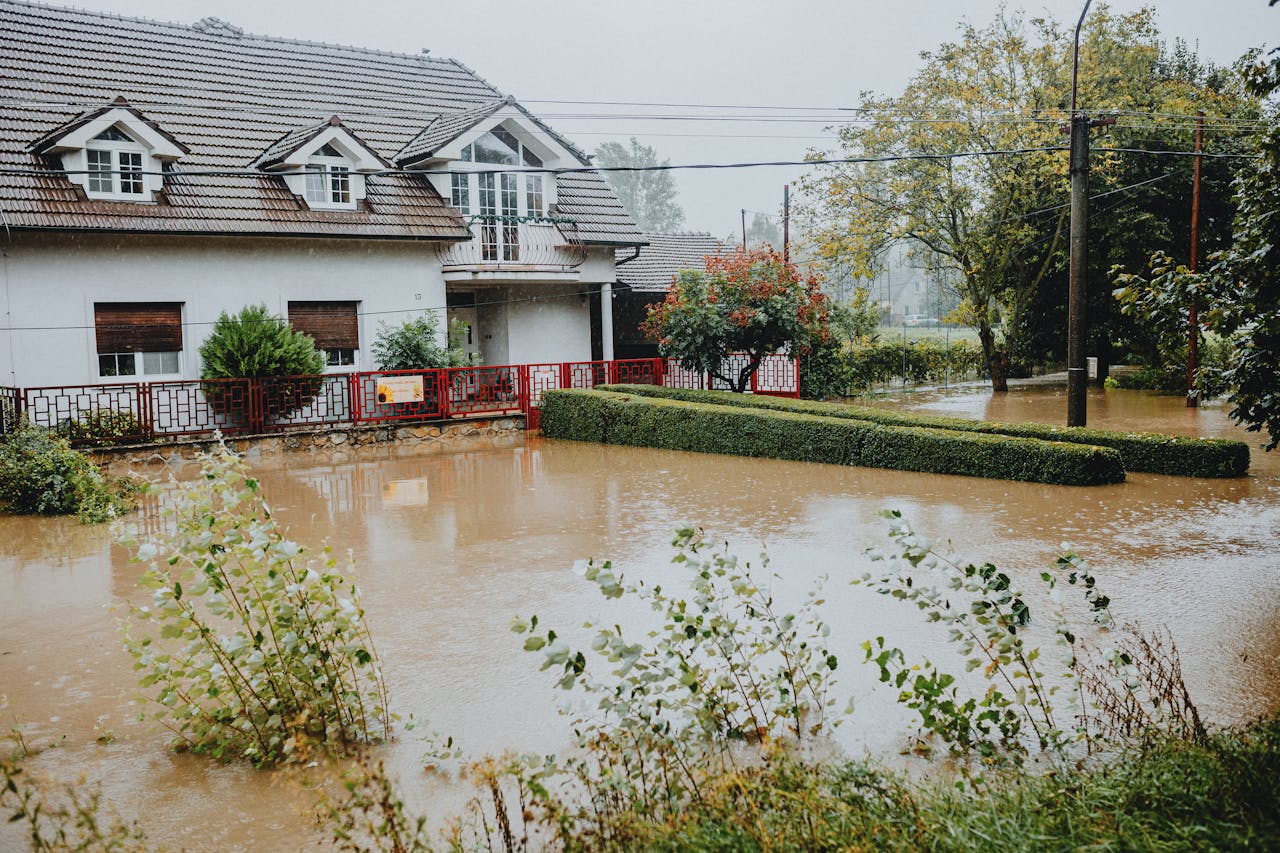
Identifying the source of the leak is crucial for effective repairs and prevention of future leaks. Determine if the water is coming from a pipe, an appliance, or an external source like a leaky roof. This can help you know what kind of repairs are needed and whether you need professional help. Sometimes, the source is obvious, like a burst pipe; other times, it might take a bit of investigative work. Knowing the source will also help prevent the same problem from recurring.
Take Photos for Insurance Documentation
Before starting any cleanup or repairs, take photos of the damage for insurance documentation. These pictures will serve as evidence when filing a claim with your insurance company. Be sure to capture all affected areas, including any damaged furniture, flooring, and personal items. Clear and detailed photos can make the claims process smoother and increase your chances of getting appropriate compensation. Make it a habit to document the damage as soon as possible to avoid missing any important details.
Remove Standing Water
Use Towels, Mops, and Buckets
Once the water supply is turned off and the damage is assessed, it’s time to remove any standing water. Start with simple tools like towels, mops, and buckets to absorb and collect the water. This step is essential to minimize damage to floors, furniture, and other items. Make sure to wring out and replace towels frequently to keep them effective. Using mops can help you cover larger areas more quickly.
Employ Wet/Dry Vacuum
For larger amounts of water, a wet/dry vacuum can be very useful. This type of vacuum is specially designed to handle water and can speed up the cleanup process. Follow the manufacturer’s instructions for safe use. Make sure to empty the vacuum frequently to maintain its efficiency. This tool is particularly effective for carpets and large puddles that are difficult to manage with just towels and mops.
Dispose of Water Properly
It’s important to dispose of the collected water properly. If the water is clean, you can pour it down a drain or outside. However, if the water is contaminated or comes from a questionable source, you might need to take additional safety measures. Contaminated water should be handled with care to avoid spreading bacteria or harmful chemicals. Be mindful of local regulations regarding water disposal to ensure you’re following best practices.
Dry and Dehumidify the Area
Open Windows and Doors for Ventilation
After removing the standing water, the next step is to dry out the affected areas. Start by opening windows and doors to improve ventilation. This can help the moisture to evaporate more quickly. Fresh air circulating through the area can also prevent mold and mildew from forming. Good ventilation is one of the easiest and most effective ways to start the drying process.
Use Fans and Dehumidifiers
Next, use fans and dehumidifiers to speed up the drying process. Place fans in strategic locations to direct airflow across wet surfaces and help with evaporation. Dehumidifiers are excellent for reducing the humidity level in the room, making it harder for mold and mildew to grow. Run these devices continuously until the area is completely dry. Regularly empty and check the equipment to ensure it’s working efficiently.
Remove Wet Items and Materials
Lastly, remove any wet items and materials from the area. This includes soaked carpets, rugs, furniture, and any other items that have absorbed water. Removing these items helps the area dry faster and prevents additional damage to your belongings. Thoroughly inspect each item to see if it can be dried and salvaged or if it needs to be discarded. Keeping wet items in the area can promote mold growth and make the drying process take much longer.
Conclusion
Dealing with a water leak can be stressful, but taking the right steps quickly can make all the difference. By turning off the water supply, assessing the damage, removing standing water, and thoroughly drying the area, you can minimize the damage and start getting your home back to normal. These easy steps will help you control the situation and prevent further problems like mold growth and structural damage.
Water leaks are an unfortunate reality in homeownership, but remember that you don’t have to handle them alone. Professionals can offer the expertise and tools needed to fully restore your home and ensure it’s safe and dry. If you find yourself dealing with water damage, do not hesitate to reach out for help.
For expert water damage restoration services, contact All Around Home Solutions. Our team is ready to assist you with your water damage issues and help restore your home to its original condition. Contact us today to get started.

